Champagne
&
Shiplap
May 12, 2024
Beginners Guide To Tiling: How to Install Kitchen Backsplash Tile in a Day
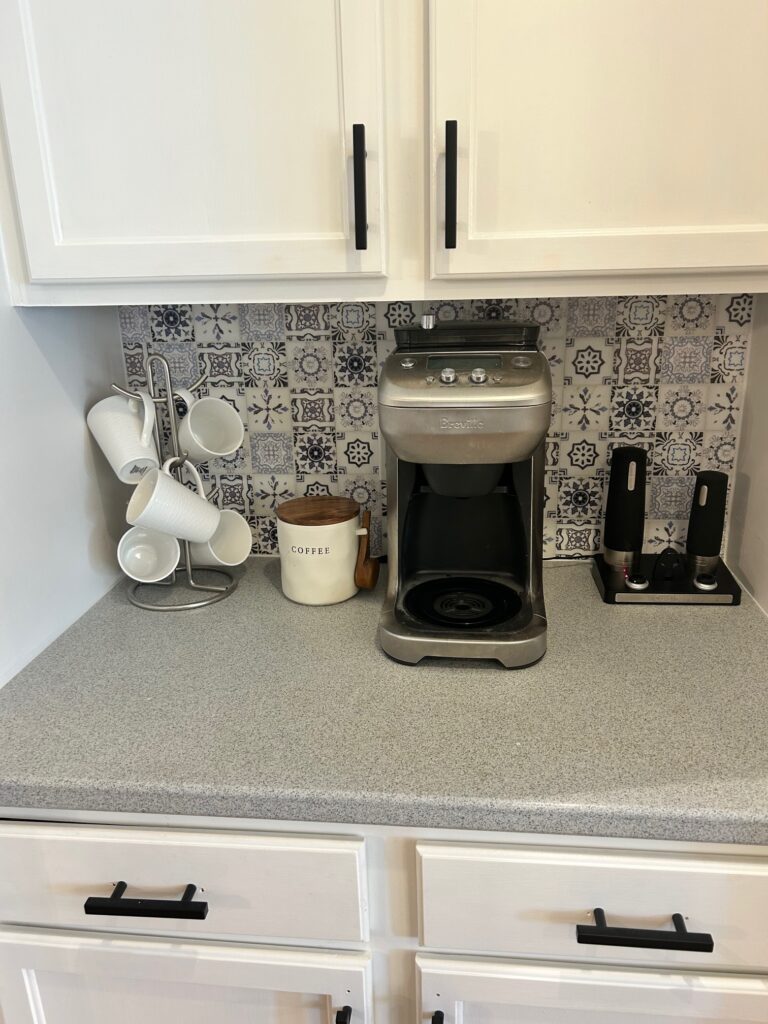
Are you looking to add a touch of personality to your kitchen with a stylish backsplash? Installing tile can transform the look of your kitchen and protect your walls from splashes and spills. If you’re new to DIY projects, don’t worry – this step-by-step tutorial will show you how to install a kitchen backsplash using double-sided tile adhesive, making the process easier and more manageable for beginners.
Disclaimer: As an Amazon Associate, I earn from qualifying purchases. This post may contain affiliate links which earns me a small commission at no extra fees to the purchaser.
Step 1: Gather Your Materials
Before you begin, make sure you have all the necessary tools and materials:
- Tiles of your choice
- Double-sided tile adhesive sheets
- Grout
- Tile spacers
- Tile cutter or wet saw
- Grout float
- Sponge
- Level
- Measuring tape
Step 2: Prepare the Surface
Ensure that the surface where you’ll be installing the backsplash is clean, dry, and smooth. Use a level and a straight edge to check for any unevenness or bumps. If needed, sand down any rough spots or fill in any gaps with spackle and allow it to dry.
Step 3: Plan Your Layout
Lay out your tiles on the countertop or floor to determine the best arrangement for your backsplash. Consider the pattern, spacing, and any design elements you want to incorporate. You’ll want to avoid and small cuts as these get more difficult the smaller they are so ensure to pay special attention to the size of the last rows of tiles in your design. Use tile spacers to maintain consistent spacing between tiles.
Step 4: Cut and Apply the Double-Sided Adhesive
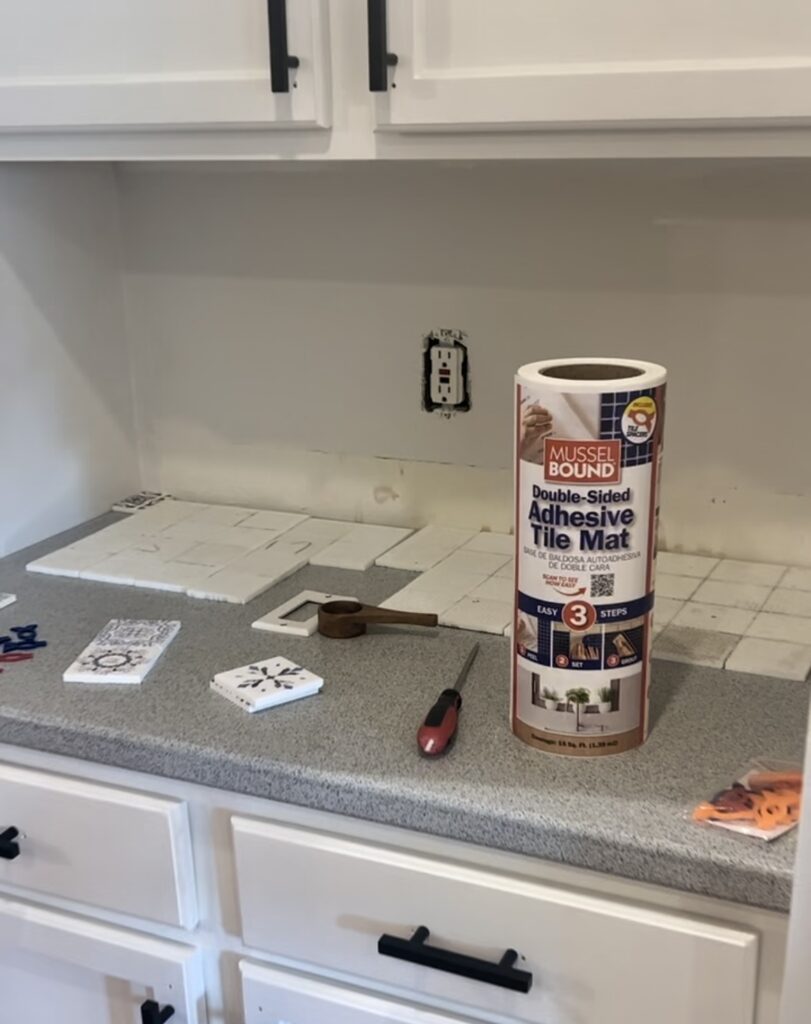
In this tutorial we will be using a double-sided adhesive rather than mortar. It is a great solution for kitchen backsplash because kitchen tiles typically are smaller in nature and don’t have a lot of wear and tear outside of cleaning. I recommend this double-sided adhesive. Its a great solution for any level of expertise but particularly suited for beginners as it is much easier to handle than typical tile mortar.
Start by measuring and cutting the double-sided adhesive sheets to fit the entire length and width of the wall you will be installing tiles on. Use scissors or a utility knife to make precise cuts, ensuring that the adhesive sheets are slightly smaller than the perimeter of the tile to avoid anything showing at the end.
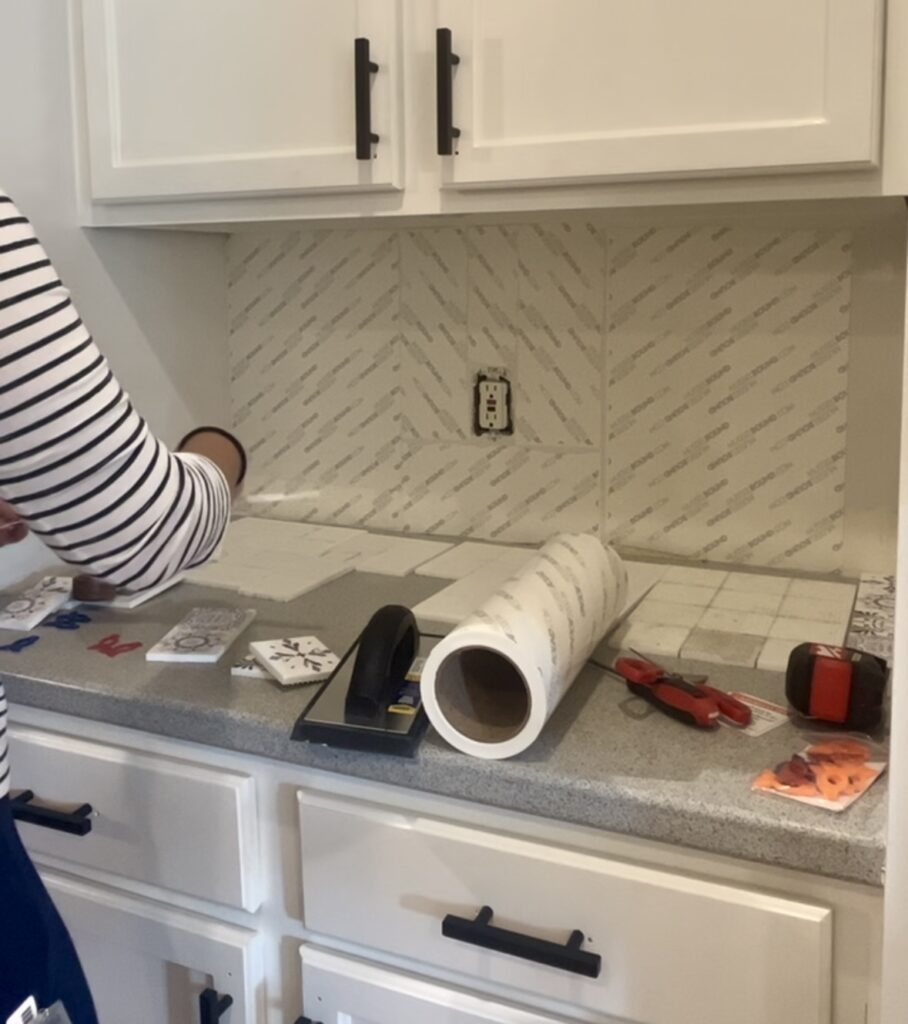
Peel off one side of the backing from the adhesive sheet and carefully apply it to the wall ensuring that it adheres firmly. Use your grout float to get it nice and tight to the wall ensuring there is no overlap that will cause the wall to be uneven.
Step 5: Cut and Install the Tiles
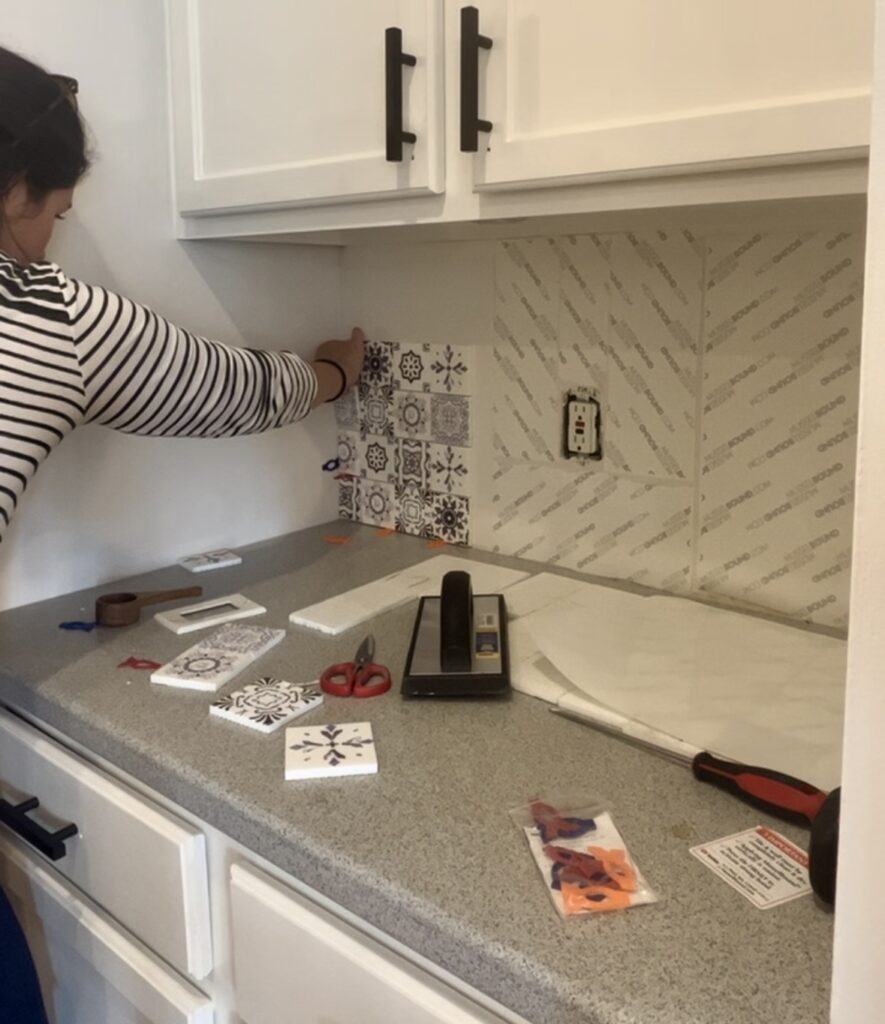
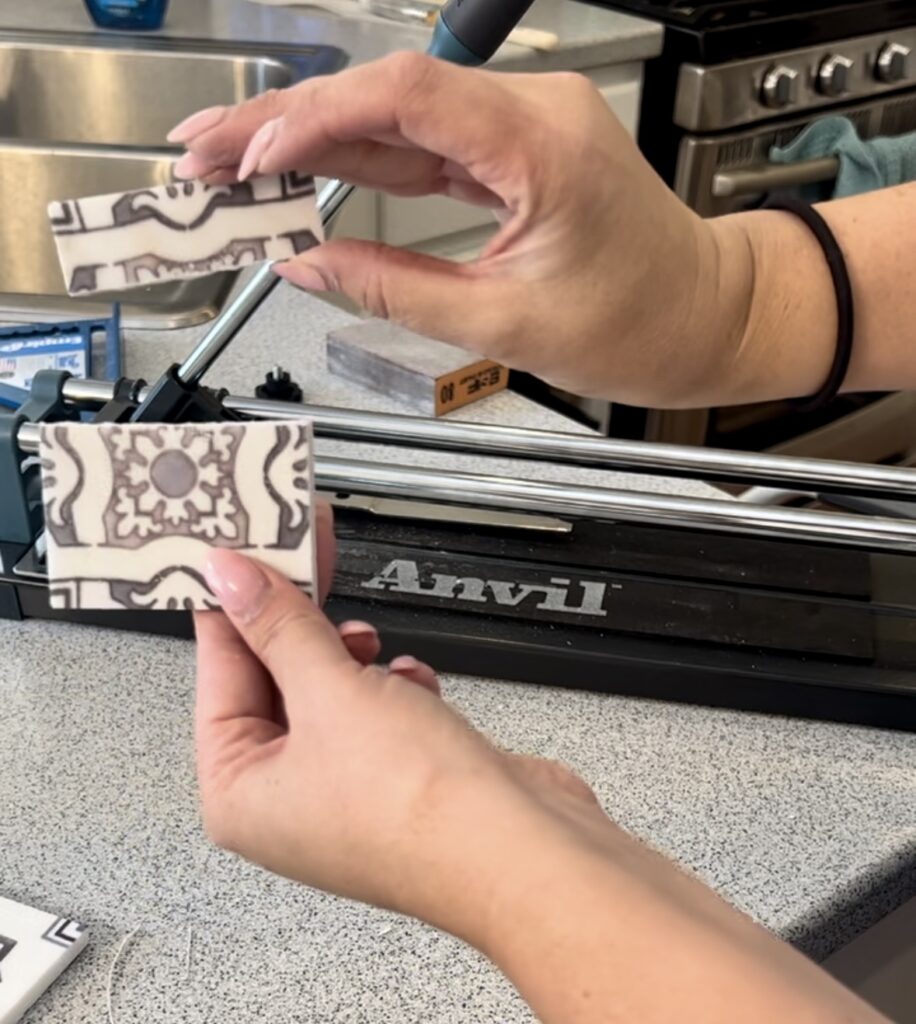
Once the adhesive sheets are attached to the wall, carefully peel off the remaining backing to expose the second adhesive side. Based on your initial measurements, be sure to cut your tiles according to the design you laid out in step 2. I have used both a manual tile cutter as well as a wet saw but if this is your first project and you don’t have a lot of cuts to make I suggest starting with a manual tile cutter as it is less of an investment and a bit easier to handle. Press the tiles onto the prepared surface, starting from one corner and working your way across the backsplash. Be sure to use spacers to keep a uniform design and use a level to ensure that the tiles are straight and aligned properly throughout your installation.
Step 6: Apply Grout
The best part about using double sided adhesive is you do not have to wait for any mortar to dry/set to start this step!
For kitchen backsplash I typically will use a premixed grout but be sure to research the best grout for your tile/use and follow the directions on the package for mixing and applying the grout. Once your grout is ready to apply, spread it over the tiles using a grout float. Work the grout into the gaps between the tiles at a 45-degree angle, ensuring that they are completely filled.
Be sure to apply the grout in small sections (I usually opt for 24-48 square inch sections) so you can easily clean the excess grout off the top of the tiles without it drying out. After applying the grout, use a damp sponge to wipe away any excess grout from the surface of the tiles. Rinse the sponge frequently to keep it clean and continue until the tiles are free from grout residue.
Step 7: Let the Grout Cure
Allow the grout to cure for the time specified on the package, usually 24-72 hours. Avoid touching or disturbing the tiles during this time to ensure a strong and durable bond. Once the grout is fully dry, take a dry rag to wipe off small amount of residue left over from the grout cleaning. If this area is going to frequently get wet, it is also best to seal the grout at the end with grout sealer.
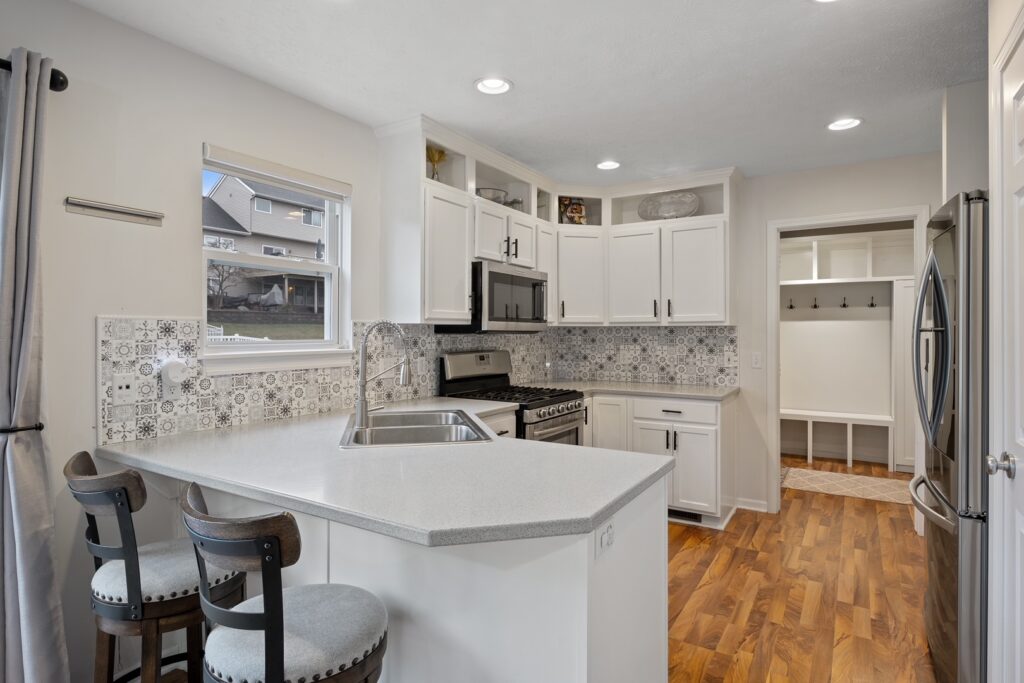
With the tile cleaned, and grout cured, step back and admire your newly installed kitchen backsplash! You’ve successfully transformed your kitchen with a beautiful and functional tile feature, all thanks to the ease and convenience of double-sided tile adhesive. Enjoy your refreshed space!
Be the first to comment