Champagne
&
Shiplap
May 6, 2024
DIY Guide: How to Install Basic Board and Batten a Step-by-Step Tutorial
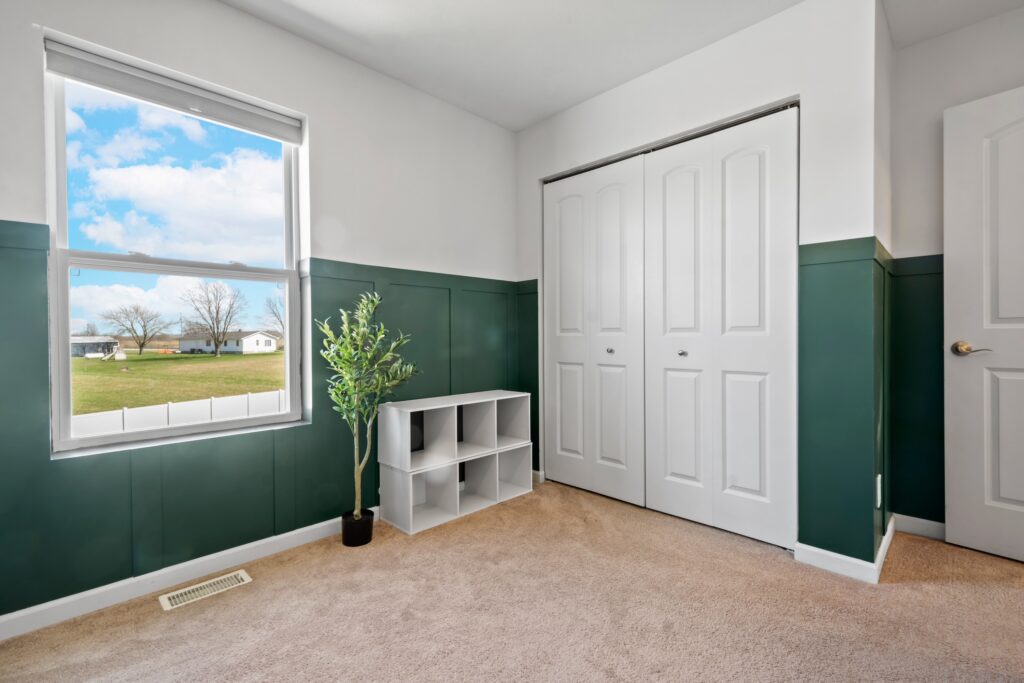
If you’re eager to revamp your home without breaking the bank, you’re in the right place. Today, we’re diving into the timeless charm of board and batten installation. Not only does it add depth and character to your walls, but it’s also a project perfectly suited for beginners and intermediates alike. So, grab your tools, and let’s get started!
Adding decorative trim work to your walls has been a trend that has been around a long time and has recently made a huge come back in the world of design! I have utilized a few different options of board and batten and decorative trim throughout my homes and each time, they give the room a sense of elegance and uniqueness that really makes the room pop! There are so many techniques you can do with decorative trim but the lumber and labor can get expensive quick! This tutorial is to show you a basic board and batten that can elevate a room without spending a fortune on supplies and installation!
Materials Needed:
Disclaimer: As an Amazon Associate, I earn from qualifying purchases. This post may contain affiliate links which earns me a small commission at no extra fees to the purchaser.
Step One: Preparation
Measure and Plan Before diving into any project, preparation is key. Measure the walls where you plan to install the board and batten. There are lots of calculators you can find online that will help determine proper spacing and help you determine the amount of material you will need! I tend to lean towards purchasing 1/4″ thick pine or MDF to save costs but have done a few projects with 1/2″ inch depending on what I want the outcome to like! I also like to take into consideration the height of the boards I am purchasing. If I purchase an 8ft board, I will make the uprights slightly less than 4′ so I can get two cuts out of every board! Its always a good tip to start by using painter’s tape with your measurements to visualize the layout before committing.
Step two: Make Your Cuts
Cut Your Boards Using a miter saw, cut your boards to the desired length. Remember to account for any corners or obstacles in the room. Precision is essential here, so take your time and double-check your measurements. If your walls are too long and you need multiple boards for one length, its best to cut both sides at a 45 degree angle to help hide the seam as much as possible!
Step three: Install the Battens
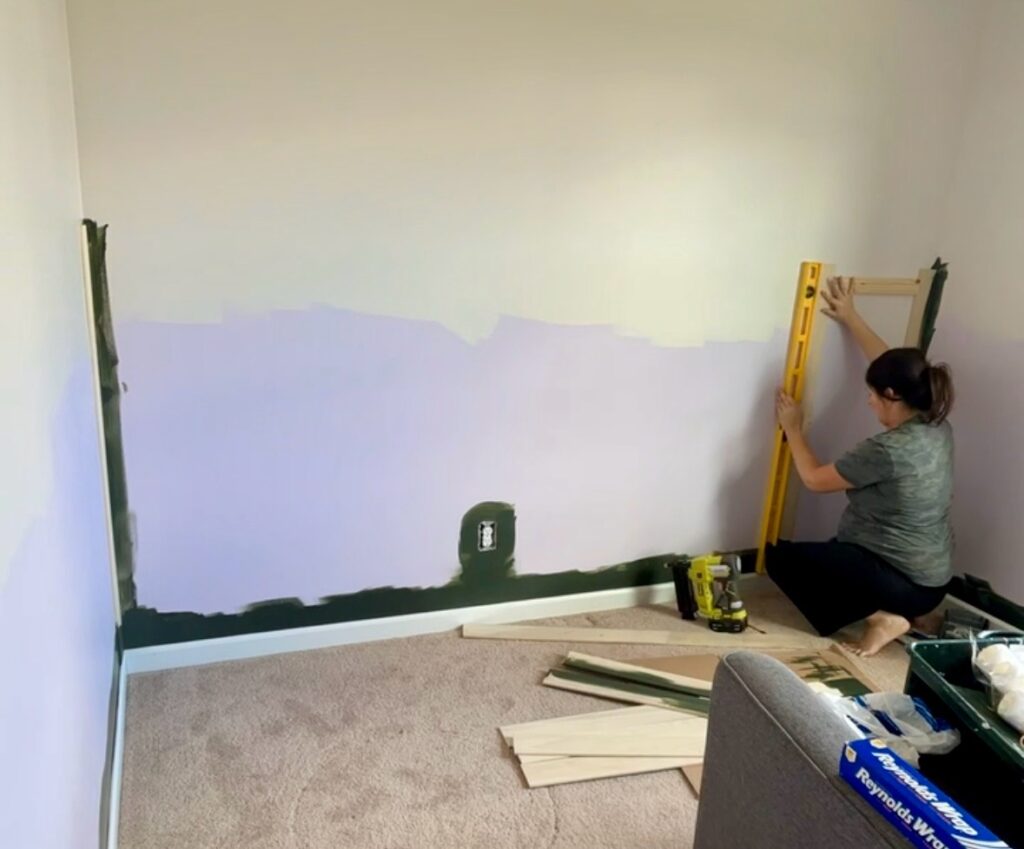
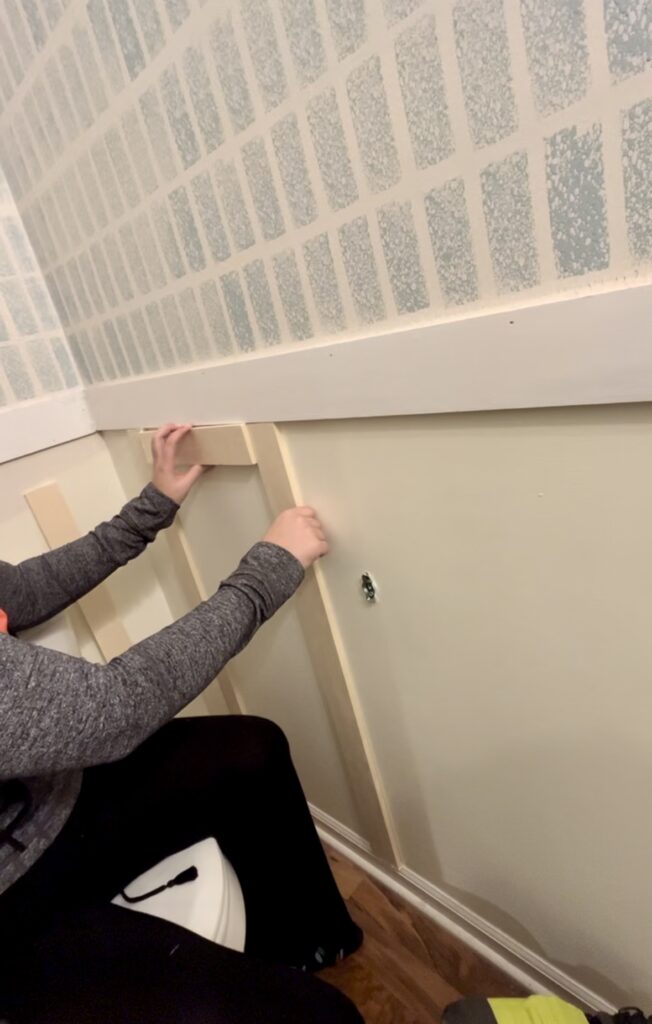
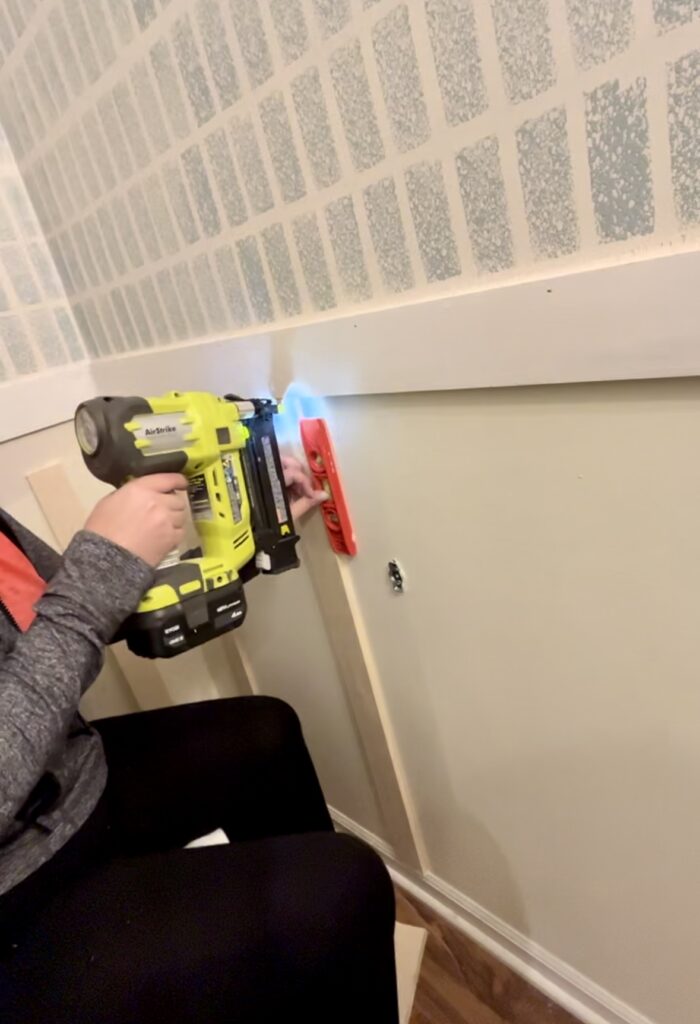
Install the battens (the boards sitting at a 90 degree angle to the floor). Starting at the bottom of the wall, use a basic level to ensure your first board is straight. Secure it in place with your brad nailer, placing nails at regular intervals along the length of the board. Its best to angle your brad nailer alternating to either side if you are not nailing into a stud to ensure stability! Continue installing boards, leaving equal spacing between each one. Expert tip: Cut a scrap piece of wood the exact length of the gap between your battens and use this as a spacer to get perfect measurements every time. If your baseboards are thicker or thinner than your battens, you can use cove molding at the bottom of the battens between your base boards as a transition piece.
Step four: Install the Stiles
Once all of your battens are in place, its time install the Stile (horizontal board that finishes the top) Again, use your level to ensure they are straight and evenly spaced! If your battens are measured properly, this should fit snugly. Secure the pieces with your brad nailer tightly fitting into your battens for a seamless look.
Step five: Fill Nail Holes and Gaps
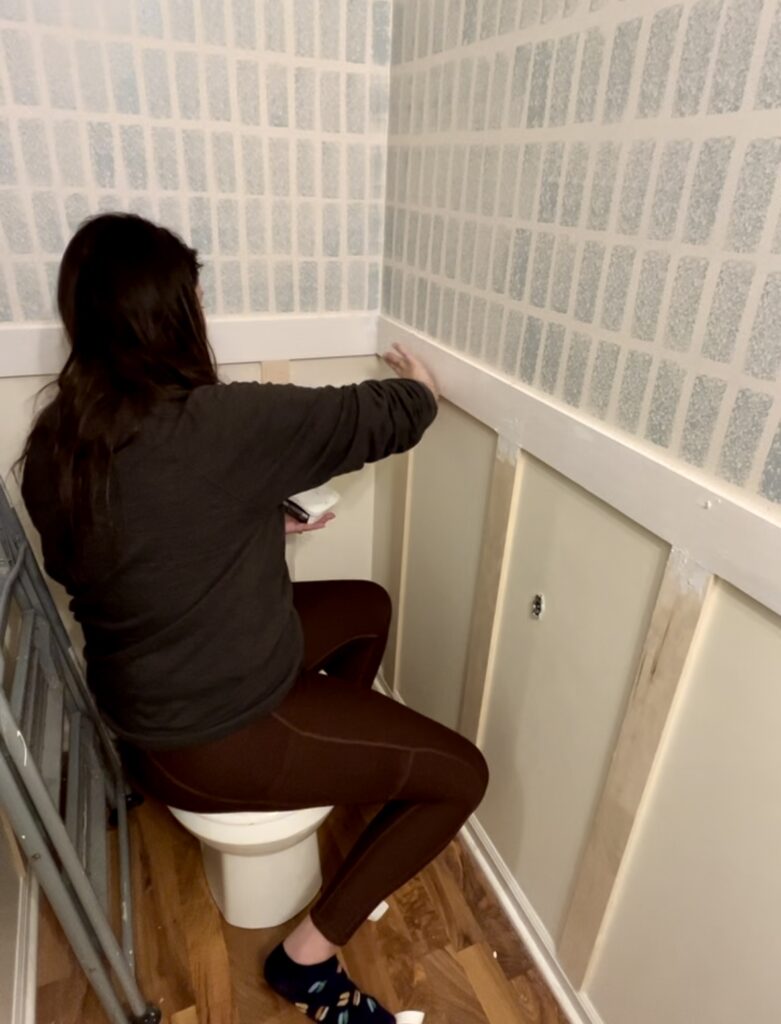
Use wood filler to fill any nail holes or gaps between the boards and the wall. Allow the filler to dry completely, then sand it smooth for a flawless finish. If there are large gaps, drywall repair putty can be a great alternative to wood filler!
Step six: Caulk and Paint
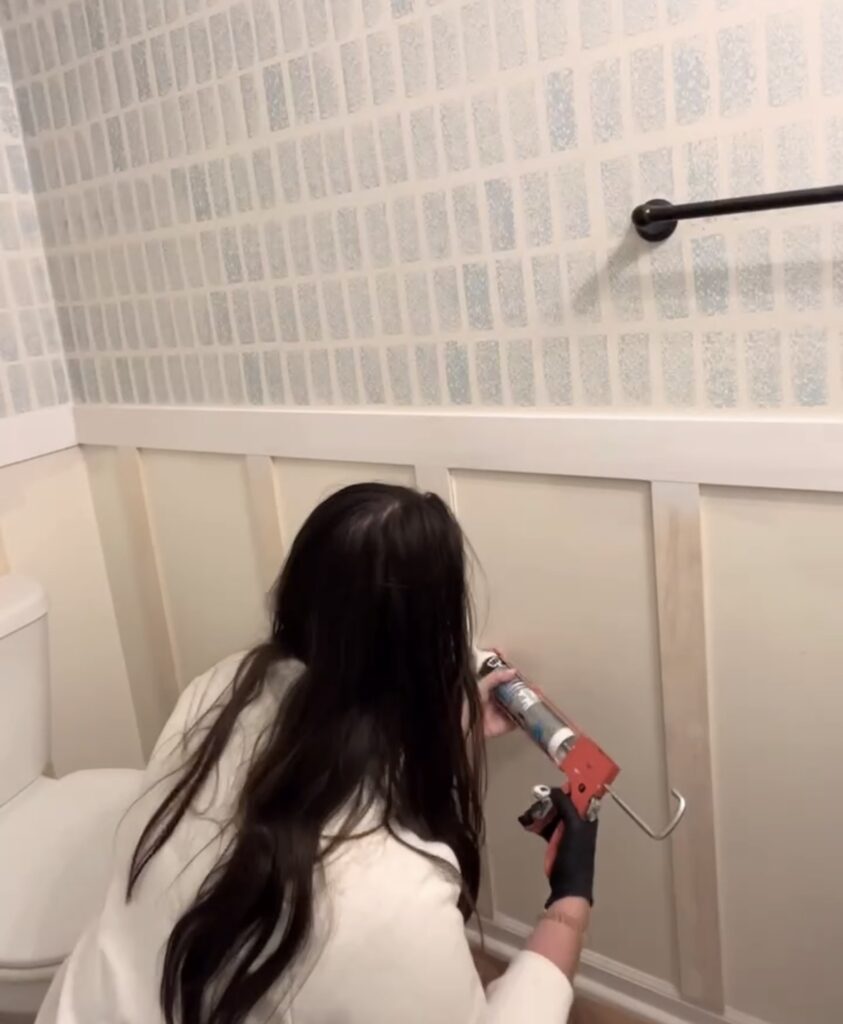
To achieve a polished look, run a bead of caulk along all of the seams where the boards meet the wall. This will hide any imperfections and create clean lines. I recommend a fast dry, paintable Caulk like this one. Once the caulk is dry, it’s time to paint! Choose a color that complements your space and apply at least two coats for full coverage.
Step seven: The Final Step!
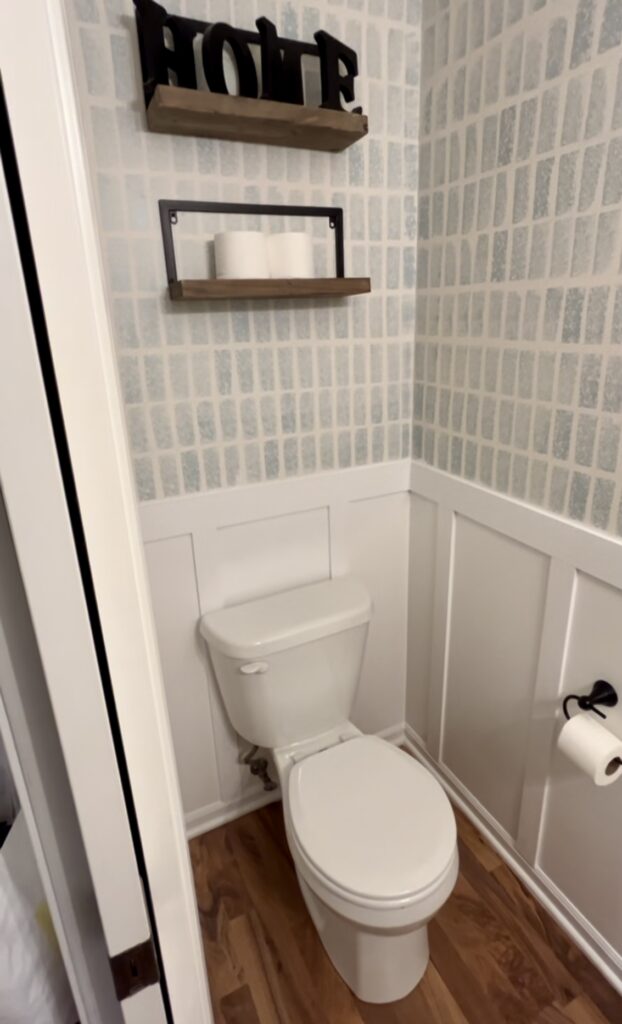
Admire Your Handiwork Stand back and take in the transformation! Board and batten instantly adds character and architectural interest to any room. Whether you opt for a classic white or a bold color choice, you’ll love the timeless appeal of this DIY project.
Congratulations on completing your board and batten installation! With just a few simple tools and supplies, you’ve achieved a stunning upgrade that will elevate your home’s style for years to come. So, what’s next on your DIY to-do list? Stay tuned for more budget-friendly projects and inspiration. Happy DIYing!
Be the first to comment