Champagne
&
Shiplap
April 28, 2024
DIY Closet Organizer For Under $1000: Functional Elegance on a Budget
Welcome back, DIY enthusiasts! Today, I’m thrilled to share with you the step-by-step journey of how I transformed a basic closet into a haven of organization, function and style, all without breaking the bank. This project, focused on creating a primary closet organizer using plywood, not only saved me thousands of $$$ but also added a personalized touch to my home. As an added bonus, I was 30 weeks pregnant when I started this project (probably inspired by my nesting phase!). Goes to show anyone can do this project with a little inspiration and beginner to intermediate DIY skills!
Disclaimer: As an Amazon Associate, I earn from qualifying purchases. This post may contain affiliate links which earns me a small fee at no extra cost to the purchaser.
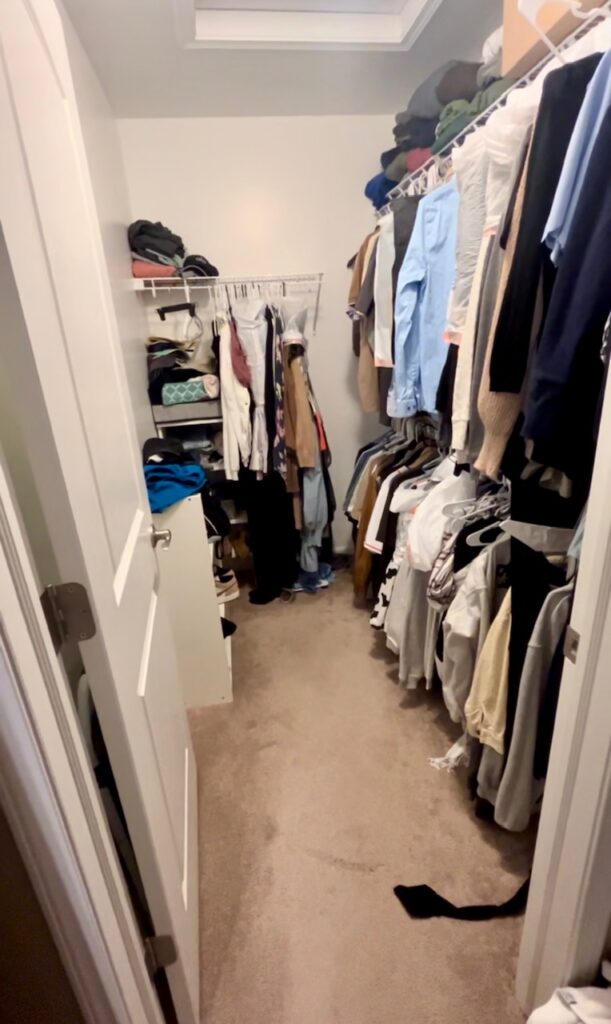

Step 1: Designing Your Dream Closet
Before diving into any project, a solid plan is essential. I envisioned a space that would cater to both functionality and aesthetics but still play to my somewhat beginner DIY woodworking skills, with designated areas for long and short hanging items, ample shelving for folded clothes, and stylish shoe racks. Sketch out your design, taking precise measurements to ensure everything fits seamlessly into your space. The design I came up with is below! If you need help designing your closet I offer free design suggestions based on your individual needs! Head over to my website and fill out the “contact me” page with details and dimensions of your space.
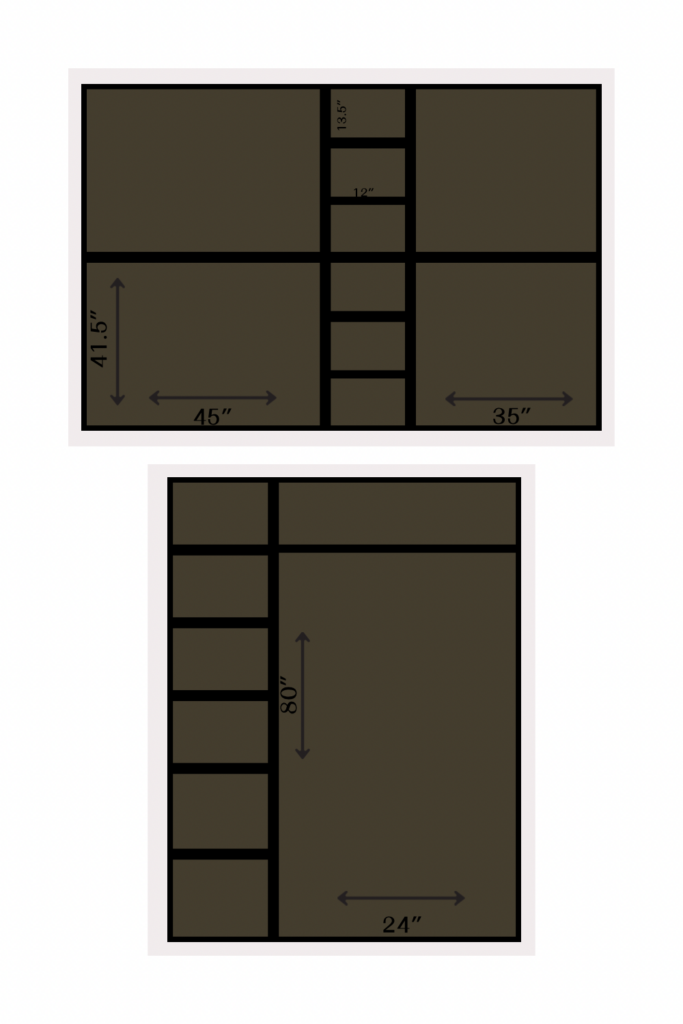
Step 2: Planning Your Cuts
With the design in hand, it’s time to tackle the plywood. Careful planning is key here to minimize waste and ensure accuracy. Using a combination of a circular saw with a guide and miter saw, I made precise cuts according to my design specifications, creating the components needed for assembly.
Step 3: Assembling the Pieces
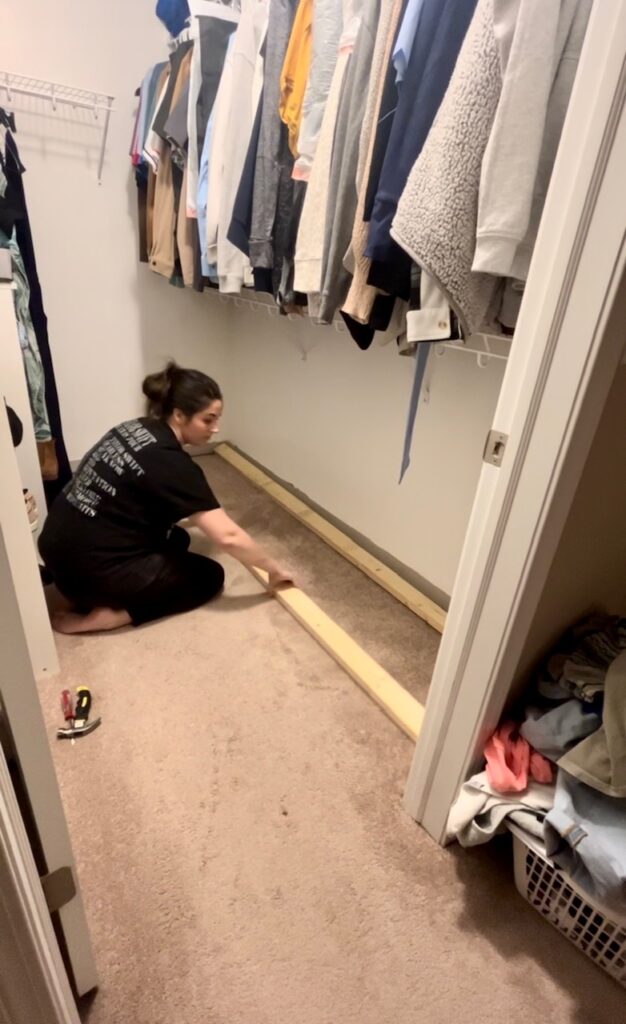
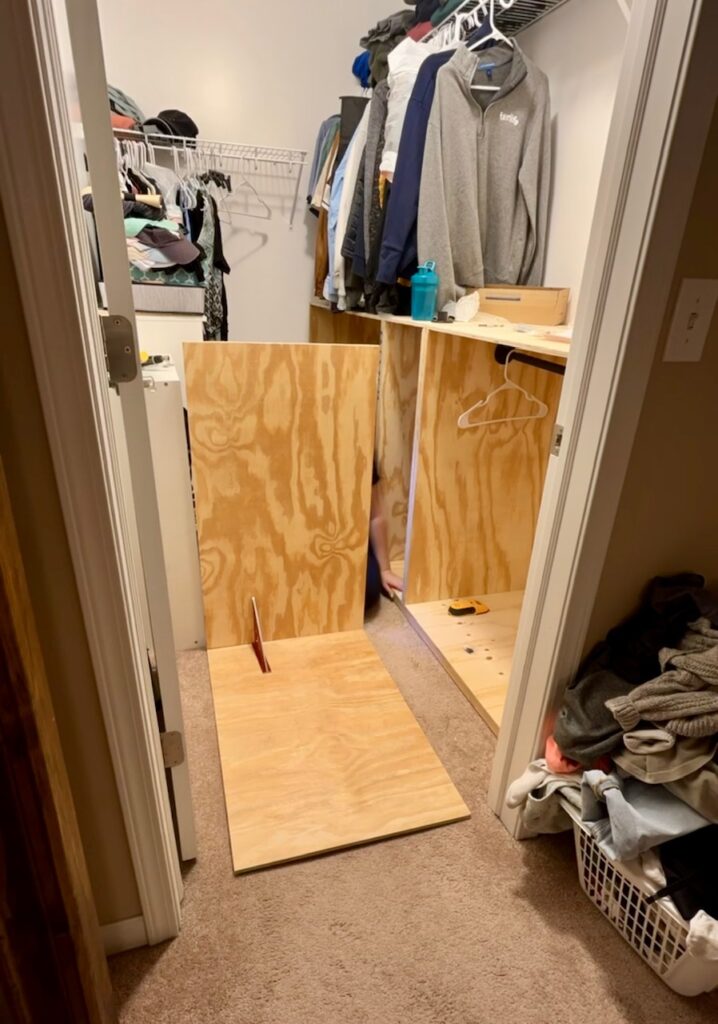
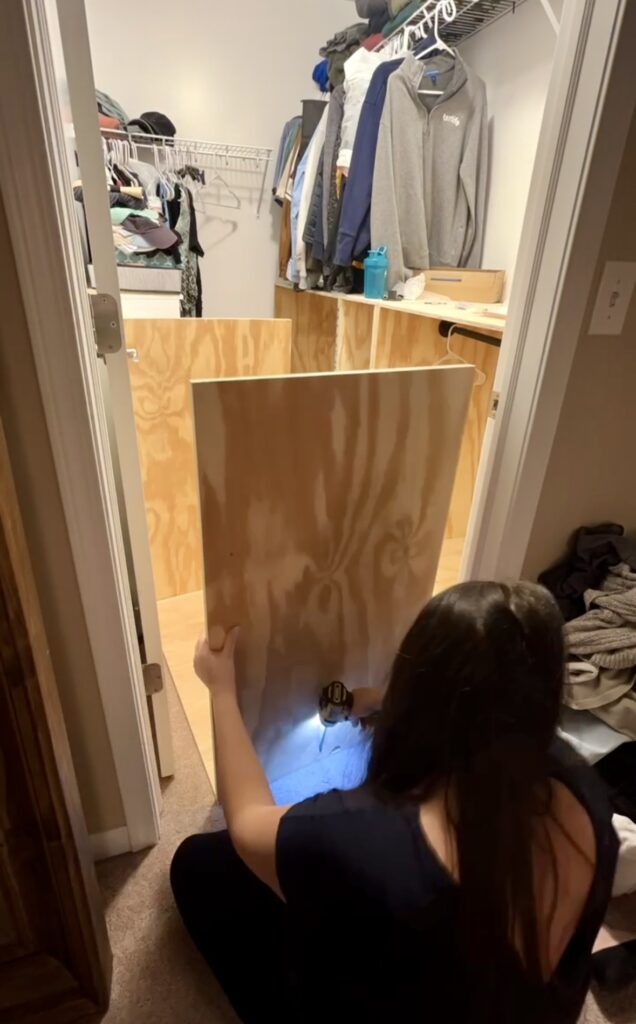
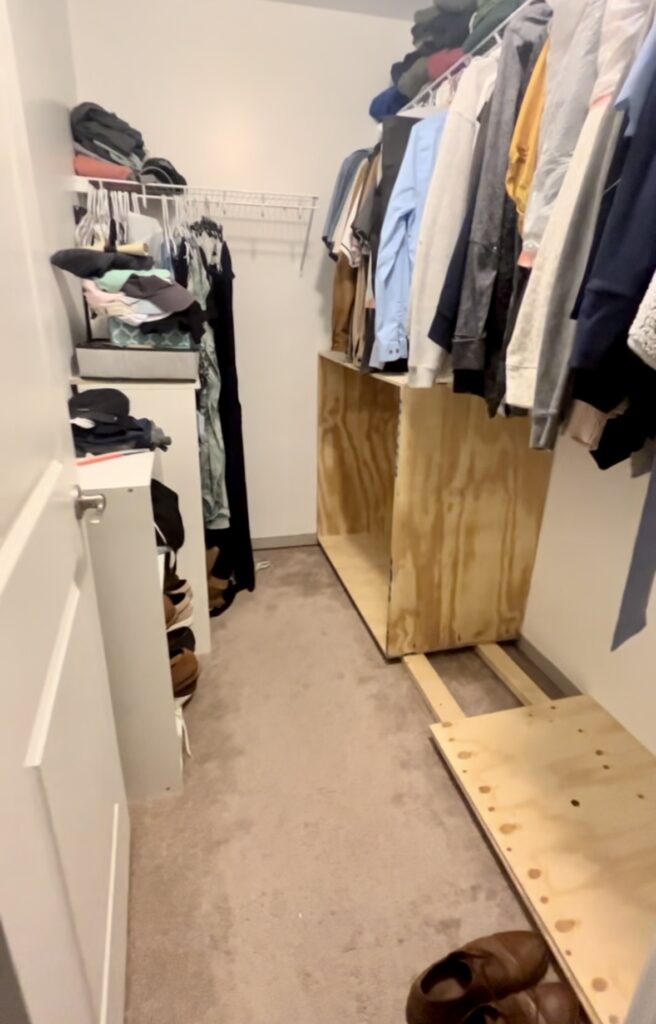
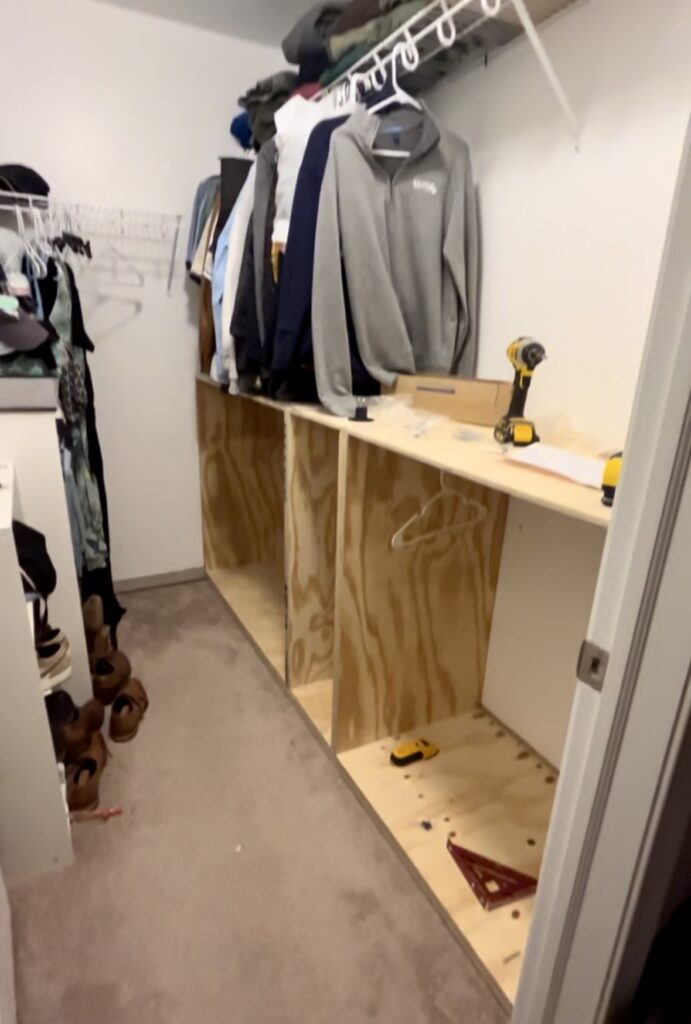
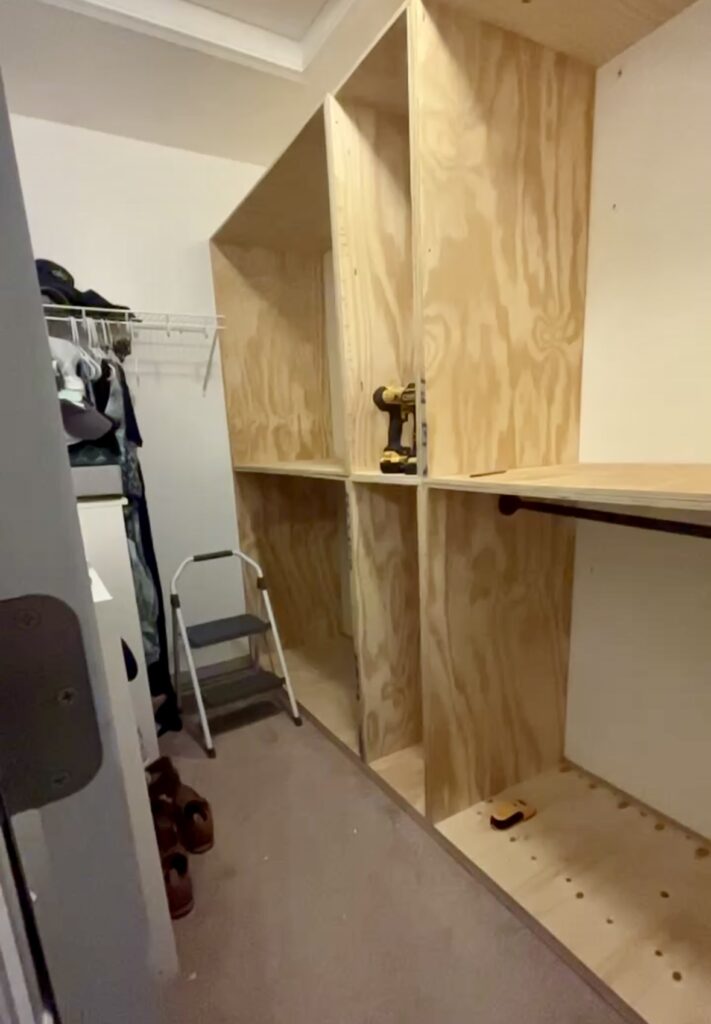
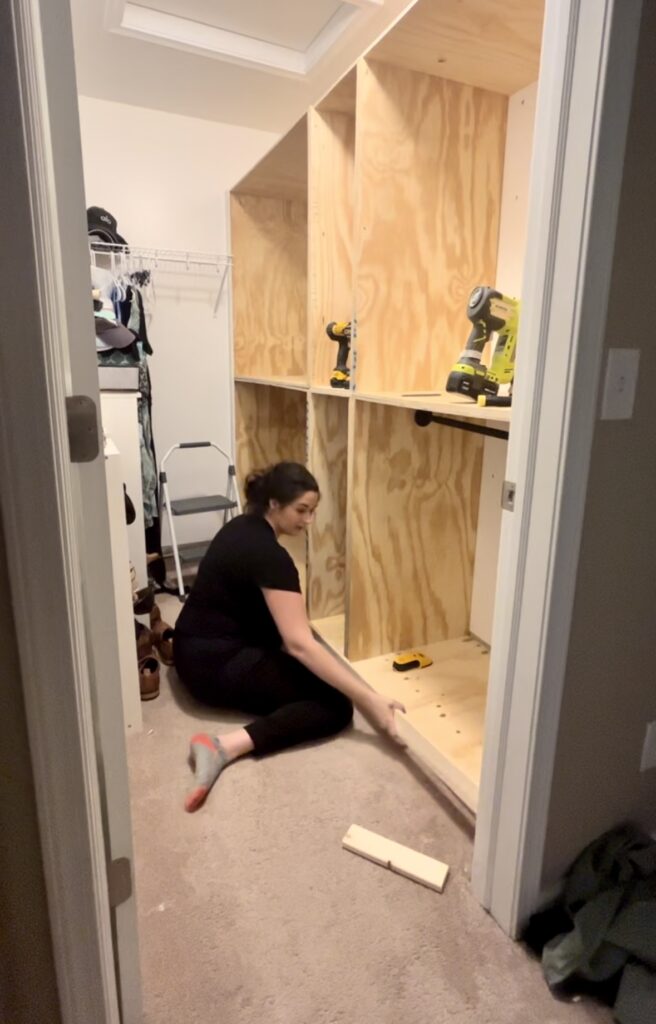
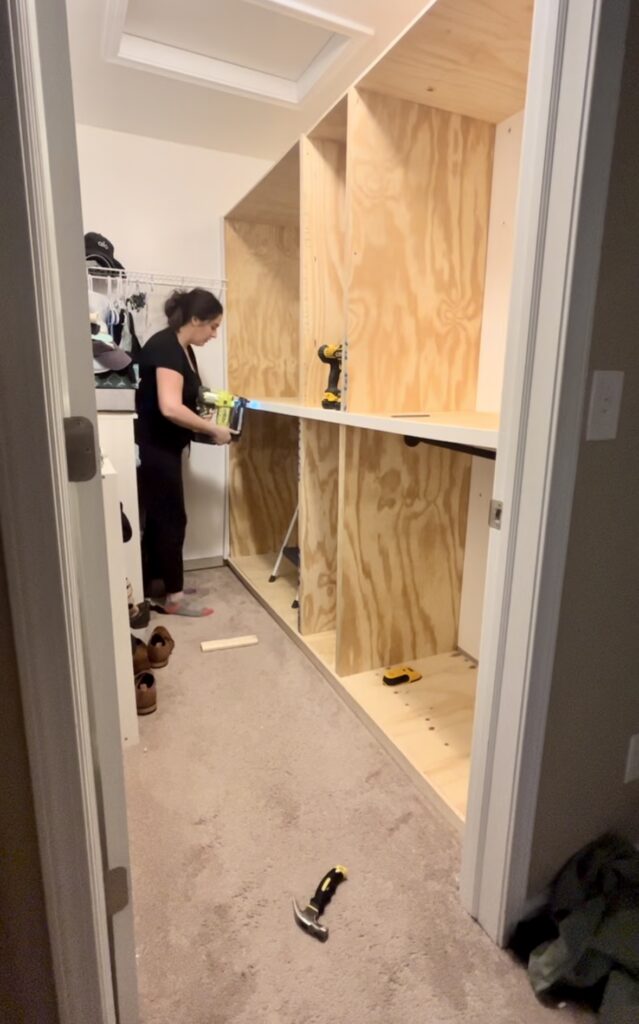
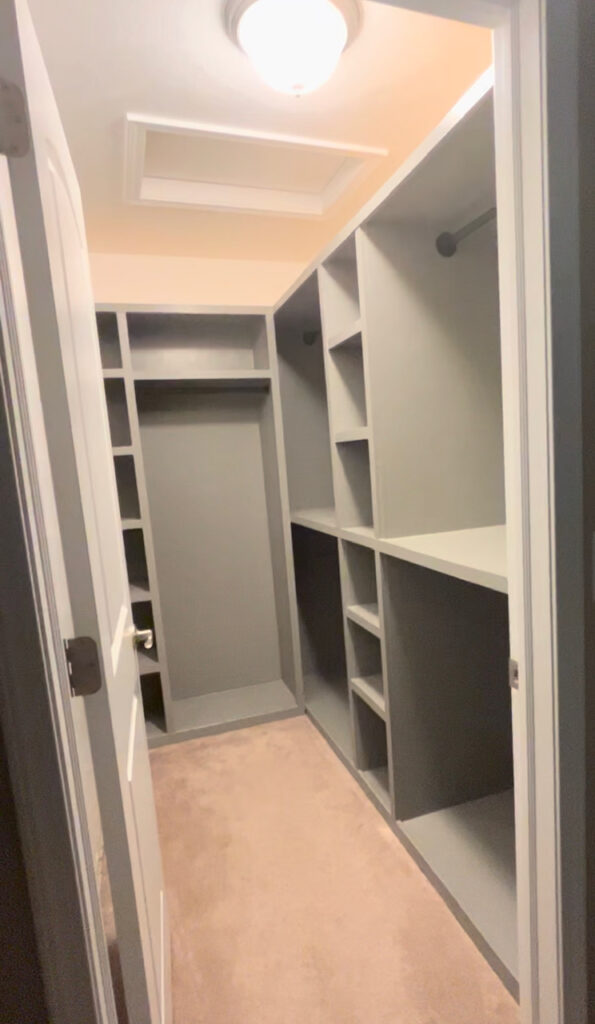
Rather than assembling the entire closet in one go, I opted to put it together in manageable pieces. This not only made the process less daunting but also allowed me to easily maneuver and install each section into the room. I started with the base and used two 2×4’s to prop up the boxes I would be creating for each of the hanging units and shelves. Next, utilizing a Kreg pocket hole jig and a power drill, I securely joined the plywood components, ensuring stability and durability. I used 3/4″ thick plywood for the uprights/side pieces of each box for stability and 1/2″ thick plywood for the top and bottom knowing these would sit on top of each other and create more thickness for stability. Lastly, I secured the boxes to the studs in the walls and added hanging rods to the five hanging sections.
Step 4: Finishing Touches with Trim
To elevate the look of the closet and hide any rough edges, I incorporated 1×2 on each of the rough edges and 1×3 trim on the base. With the help of a brad nailer, I meticulously attached the trim to the exterior of the closet, creating clean lines and a polished finish.
Step 5: Paint and Caulk
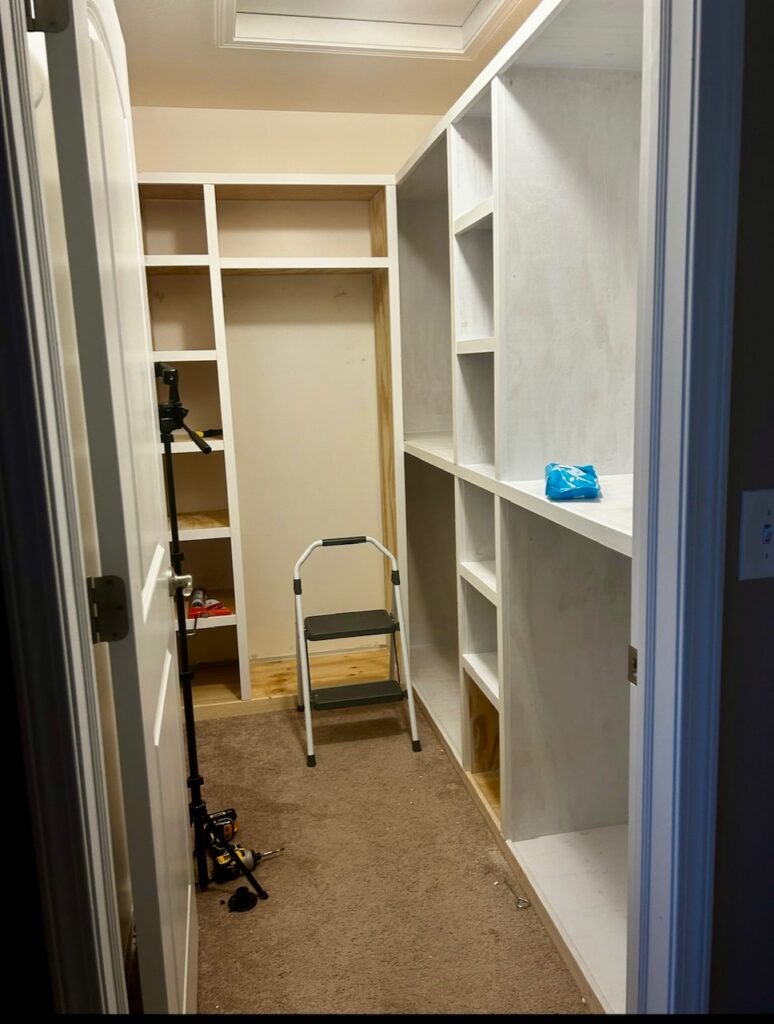
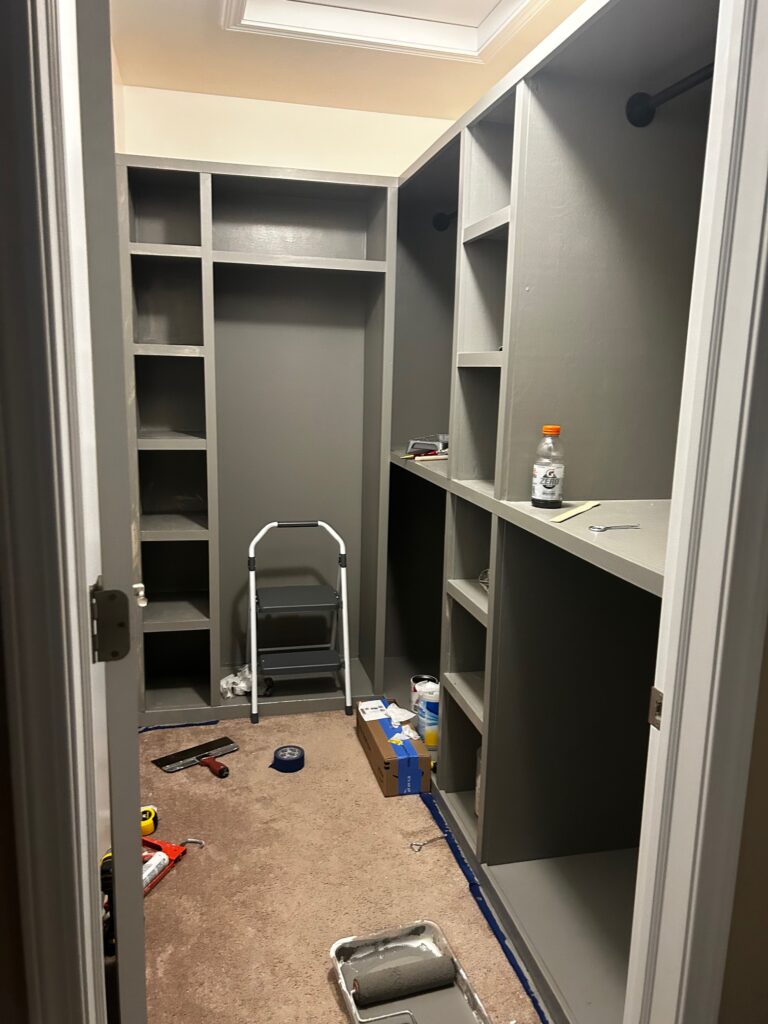
The final step in this transformation was painting and caulking. Although this is my least favorite step in the process, caulking all joints and seems makes the project look totally smooth and a seamless finish. Once the caulk was dry, I did one coat of primer with this low VOC primer. I opted for a moody green hue (shade by Clare) to give the space an element of design. After a few layers of paint, the project finally came together and was such an improvement from our old wire shelves!

Bonus Step: Shoe Racks
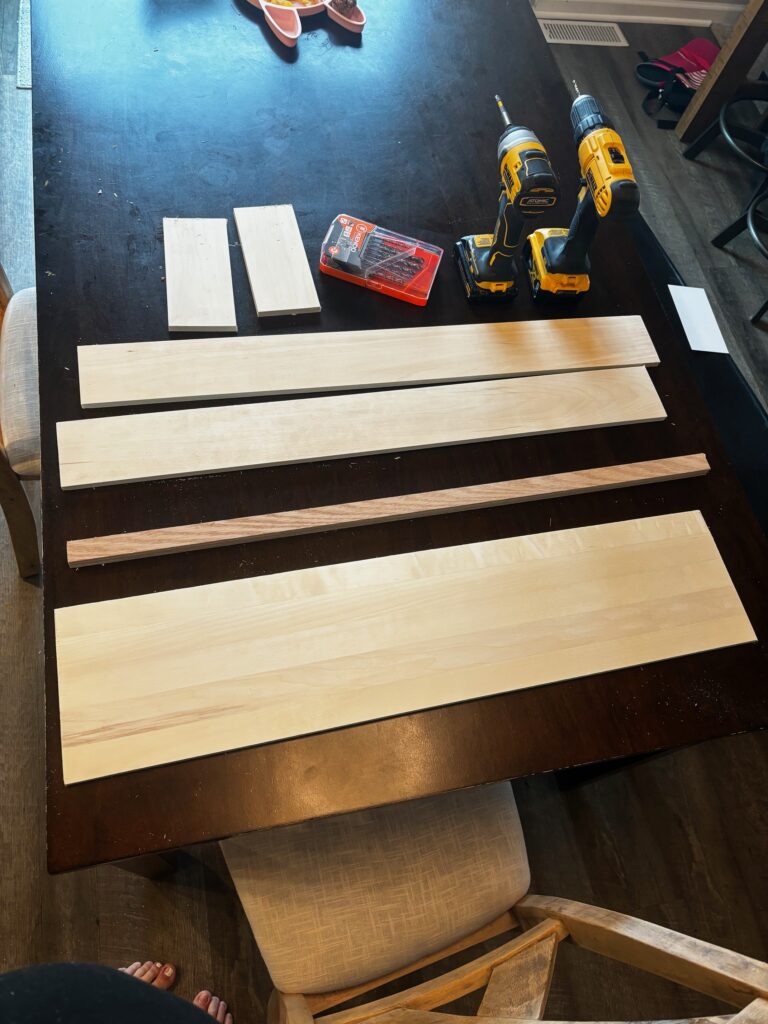
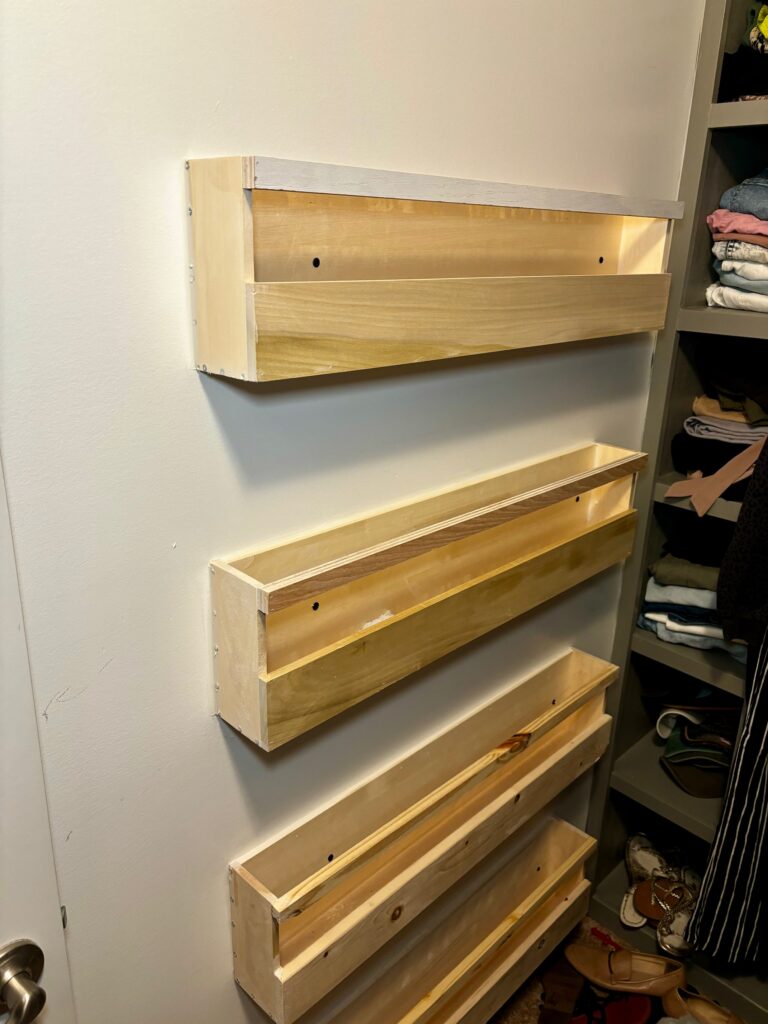
After everything was complete, I realized I still had some room on the left side wall but not enough to put a whole area for more clothes so I decided to make some vertical shoe racks! With some 1/2″x3″ planks and a 1/2″x6″ backer, I cut these to size and screwed/nailed them together. It really finished out the space and gave a functional space for shoe storage!
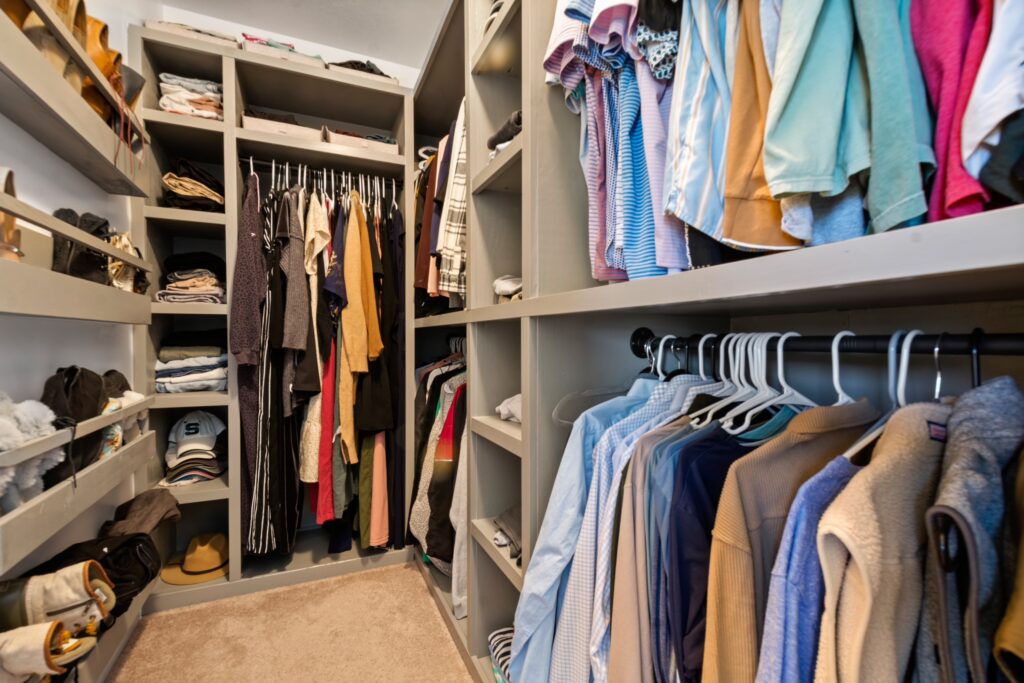
And there you have it – a custom-built primary closet organizer that’s as functional as it is beautiful, all achieved for a fraction of the cost of a pre-made version. With some plywood, basic tools, and a bit of creativity, you too can create a space that reflects your personal style while maximizing functionality. Happy DIYing!
Very nice. I’m curious what your thoughts are on not removing the carpet where you installed the new shelves and dividers.